A Recent Live Edge Construction Project

River live edge table tops waiting for pickup in the paint booth.Like everything in the carpentry business, live edge construction is a multi-layer process. It’s fun when our clients bring in a special piece of wood that has a life message or value to them and their family. They entrust us with that sentimental piece knowing that it will be in our care as Aaron creates their one-of-a-kind artistic expression.
There are plenty of videos online that show the process. I thought I’d share a little of how Aaron approaches his art of building the perfect blend of wood and the colors for the epoxy pour.
The first step is seeing the client’s treasured wood. Touching it and understanding the importance this wood has to the person. You have to approach the creation in a loving fashion, feeling what this piece is telling you across the grain of the wood.

The client’s wood after cutting in half and bookending.
The form is created.After understanding what the client wants, Aaron sets to work making the form. The form determines the shape of the final piece. You can create any shape of the wood in a form. The difficult part is deciding upon a form that makes the piece of wood more than just a cut piece of lumber.
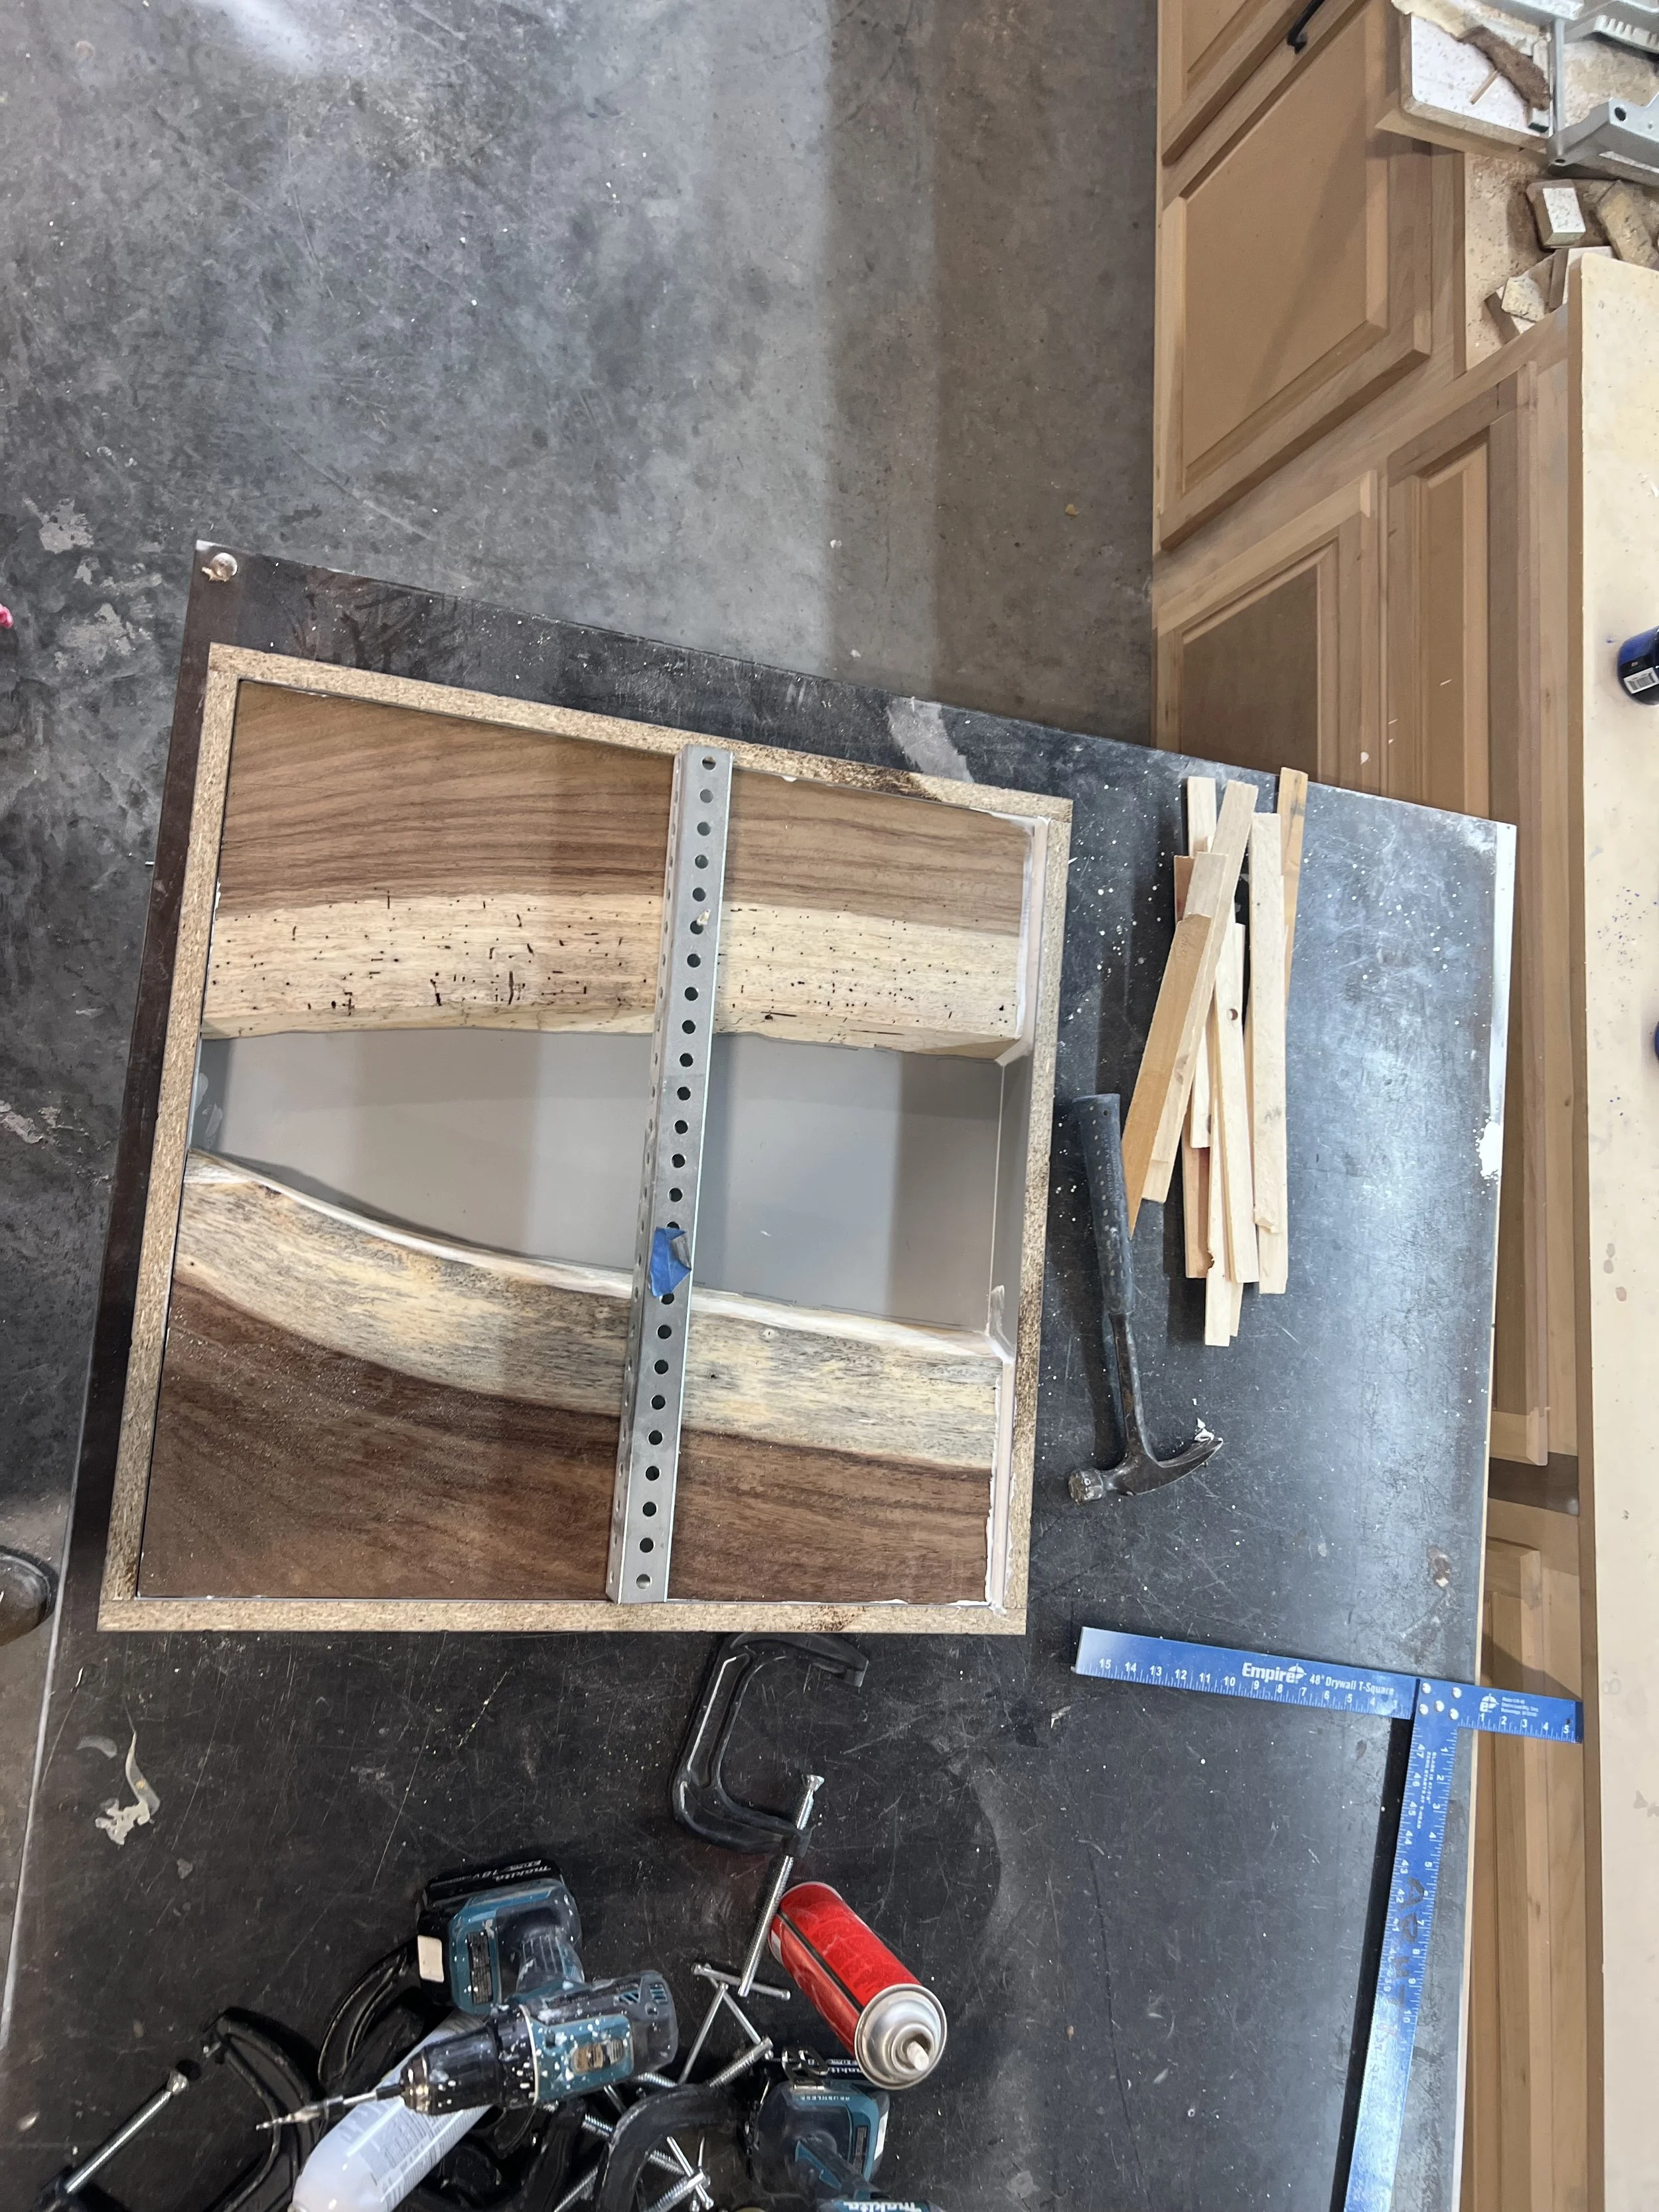
Now everything becomes a process. The form is lined with a wax and silicone on p-lam to help prevent it from sticking.
For creating the river table pictured here, the wood is cut down the middle. The two sides are placed in the form with the inside edges of the wood touching the outside edges of the form.
The epoxy parts are mixed together according to manufacturer’s directions and color is added. Here a blue pigmented powder is used.
The liquid epoxy is immediately poured into the form down the middle between the two pieces of bookended wood.
The wood and epoxy mix are left to dry for several days.
The form is removed, broken away from the wood and epoxy pour.
A sled for the router is custom built for the table and the surface is planed down.
Once planned, the surface is sanded.
The wood is placed into the form.
After pouring the epoxy into the form, heat is used to remove bubbles as the pour dries.The tables or tops created are always unique and always an incredibly beautiful addition to any décor.